That distinctive, pungent odor—often described as yeasty, sweet, or intensely sour—is unmistakable. If you notice the dog ear infection smell, your dog is likely experiencing pain and discomfort. This odor is not just a nuisance; it’s a clear signal that bacteria or yeast have taken hold deep within the ear canal.
Ignoring this symptom allows the infection to worsen, potentially causing chronic issues and even hearing loss. You need to act fast, but you must act correctly.
This comprehensive, step-by-step guide is written by someone who has managed severe ear issues in working dogs. We will walk you through exactly how to assess the situation safely, manage the odor, and work with your veterinarian to eliminate the infection for good.
Prerequisites: What You Need Before Starting
Before you begin the assessment, gather these essential tools. Do not attempt deep cleaning without veterinary direction.
- Good Light Source: A small flashlight or headlamp is crucial for inspecting the ear canal.
- Veterinary Records: Have your vet’s phone number and your dog’s history ready.
- Cotton Balls or Gauze: For gentle external wiping only. Do not use Q-tips.
- High-Value Treats: Necessary for keeping your dog calm during the inspection.
- A Calm Environment: Choose a quiet room where your dog feels secure.
Step 1: Recognizing the Dog Ear Infection Smell and Other Symptoms
The smell is usually the first clue, but it’s vital to recognize the accompanying physical signs.
Identifying the Specific Odor
Ear infections produce different types of odors, depending on the cause. The most common smells are:
- Yeasty or Bread-like: This often indicates an overgrowth of Malassezia yeast. It is a common and highly recognizable odor.
- Sour or Rancid: This can point toward bacterial infections, which often produce a more foul, rotten scent.
- Sweet and Musky: Sometimes associated with certain types of bacteria, though less common than the yeasty smell.
Visual and Physical Assessment
Once you detect the odor, gently examine the affected ear.
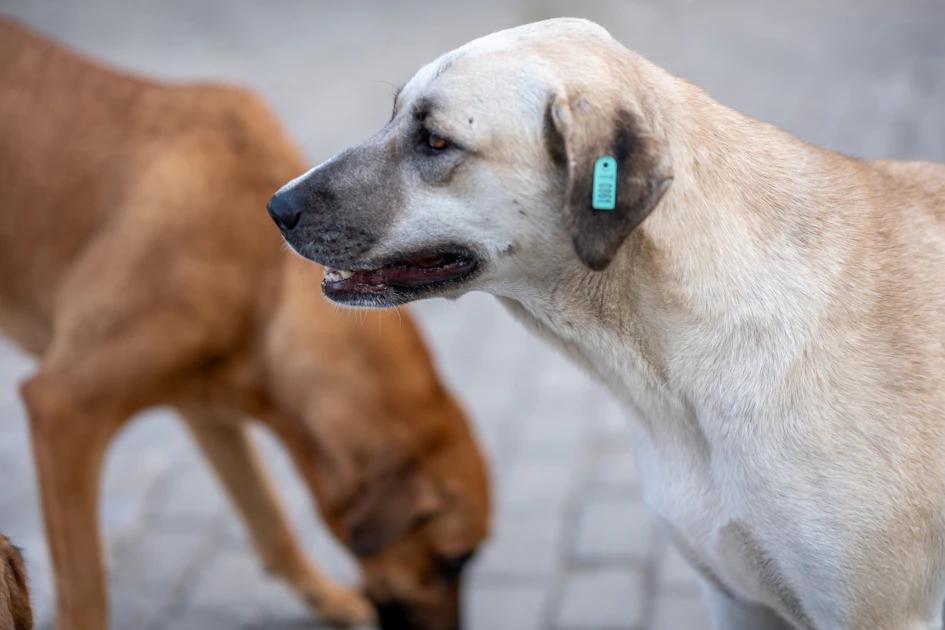
- Look Deeply: Use your flashlight to check the inner flap (pinna) and the entrance to the ear canal. Look for redness, swelling, or crusting.
- Check for Discharge: Note the color and consistency of any debris. Yeast infections often produce dark brown, waxy discharge, resembling coffee grounds. Bacterial infections often cause yellow, green, or pus-like discharge.
- Check the Skin: Feel the ear flap. Is it hot to the touch compared to the other ear or the rest of their body? Swelling and heat indicate inflammation.
- Observe Behavior: Look for excessive head shaking, scratching, or rubbing the ear against furniture or the ground. Your dog may also tilt their head toward the painful side.
According to guidelines published by VCA Hospitals, ear infections in dogs (known medically as otitis externa) are almost always caused by an underlying factor that allows bacteria or yeast to thrive in the ear canal [https://vcahospitals.com/know-your-pet/ear-infections-in-dogs-otitis-externa]. Understanding these visual cues helps you communicate the severity to your vet.
Why the Smell is So Strong
It’s important to understand the chemistry behind the odor. The reason your dog’s ears stink is fundamentally related to the organisms living there. Research compiled by PetMD explains that the strong, foul smell is the result of metabolic activity—specifically, the waste products produced by the excessive growth of yeast (Malassezia) or bacteria inside the ear canal [https://www.petmd.com/dog/general-health/why-do-my-dogs-ears-smell-bad].
This metabolic process releases volatile organic compounds (VOCs) that hit your nose hard. The deeper the infection, the stronger and more persistent the odor will be.
Step 2: Immediate Safe Action (Before the Vet)
Your primary goal now is to provide comfort and prevent the dog from scratching the ear raw. You are preparing for the vet, not treating the infection yourself.
1. Stop Self-Treatment Immediately
Do not pour home remedies like vinegar, alcohol, or hydrogen peroxide into the ear canal. These substances can be painful, especially if the eardrum is compromised, and they can worsen the inflammation.
2. Gentle External Wiping
If there is debris visible on the outer ear flap (the part you can easily reach), you can wipe it away gently.
- Use cotton balls or a piece of gauze. Dampen it slightly with plain water or a veterinary-approved ear cleaner (if you already have one).
- Wipe only the visible surfaces. Never push anything past the point where the ear canal turns down. Doing so packs debris deeper and causes pain.
- Do not use Q-tips. They are too small and rigid. They risk damaging the eardrum or pushing the infection further into the horizontal canal.
3. Prevent Further Trauma
If your dog is scratching aggressively, they can cause a painful hematoma (a blood blister) on the ear flap.
- Consider fitting your dog with an E-collar (cone of shame) temporarily if the scratching is relentless.
- Keep their nails trimmed very short to minimize damage if they scratch.
4. Determine Breed Risk Factors
Certain dogs have anatomical predispositions that make them magnets for ear infections. Knowing this context is helpful for long-term prevention.
Certain breeds are genetically predisposed to these issues due to ear flap shape or excessive hair growth. For example, Cocker Spaniels, Basset Hounds, and Golden Retrievers are frequently cited in research by PetMD as being breeds prone to ear infections [https://www.petmd.com/dog/care/dog-breeds-prone-ear-infections]. These long, floppy ears trap moisture and heat, creating the perfect breeding ground.
If you own one of these breeds, you must be extra proactive with prevention, even after the current infection clears.
Step 3: Consulting Your Veterinarian
Ear infections cannot be cured by simply cleaning the ear. They require specific, prescription-strength medication based on a diagnosis.
1. Call for an Urgent Appointment
Explain the severity of the dog ear infection smell and the pain your dog is exhibiting. Infections are painful and should be treated promptly. Do not wait several days if the smell is strong and the discharge is heavy.
2. Prepare for Diagnostic Testing
Your vet will need to perform an otoscopic exam and cytology (swab test) to determine the exact cause.
- Otoscopic Exam: The vet uses a scope to look down the ear canal, checking for foreign objects, ruptured eardrums, or tumors.
- Cytology: A swab of the discharge is taken and examined under a microscope. This identifies whether the primary culprit is yeast, cocci bacteria, rod bacteria, or a combination.
This step is critical. Treating a yeast infection with a medication designed for a rod bacteria infection will be ineffective and may create drug resistance.
3. Discuss the Underlying Cause
Ear infections are rarely a primary disease; they are usually a symptom of something else. Discuss potential triggers with your vet:
- Allergies: The most common underlying cause is food or environmental allergies.
- Moisture: Frequent swimming or improper drying after baths.
- Hormonal Issues: Conditions like hypothyroidism can predispose dogs to chronic infections.
- Foreign Bodies: Grass awns (foxtails) can become lodged deep in the canal.
Step 4: Administering Prescription Medication Correctly
Once the vet diagnoses the specific pathogen, they will prescribe drops or an ointment. Proper application is essential for clearing the infection and eliminating the smell.
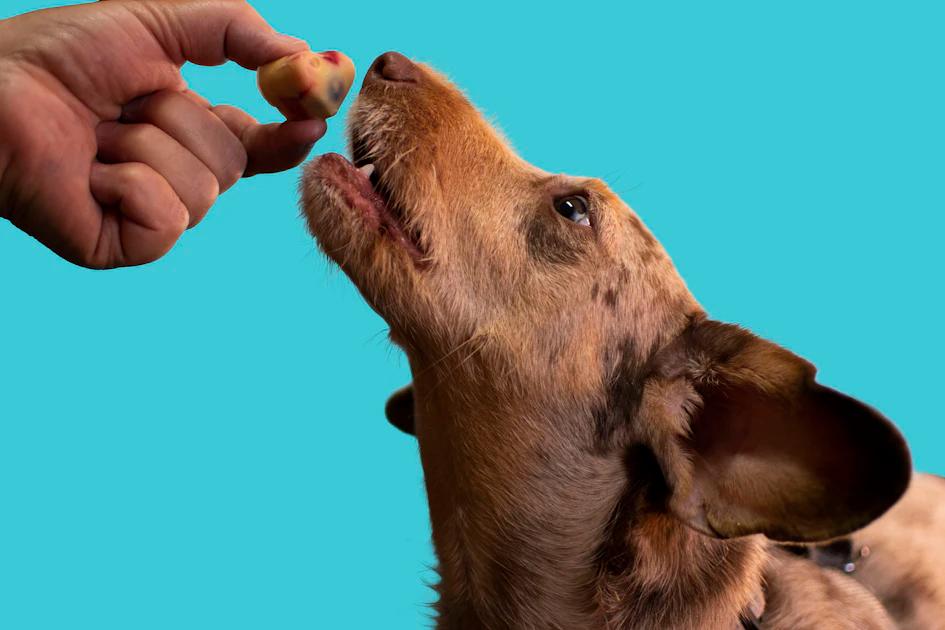
1. Get the Dog Comfortable
Administer medication in a quiet, positive environment. Have your high-value treats ready.
- Sit on the floor with your dog positioned between your legs, facing away from you.
- Use a gentle but firm grip to stabilize their head.
2. Prepare the Ear
If the vet provided an ear cleaner to use before the medication, follow those instructions precisely. Cleaning first removes debris, allowing the medicine to reach the infected tissue.
3. The Application Technique
This is where most owners make mistakes. You must get the medication deep into the horizontal canal.
- Lift the Ear Flap: Gently pull the ear flap straight up and slightly back to straighten the L-shaped ear canal.
- Apply the Drops: Fill the ear canal completely, or use the exact number of drops specified by your vet. You should hear a squishing sound when you massage the base of the ear.
- Massage the Base: The critical step. Hold the ear flap and gently massage the cartilage at the base of the ear for 30–60 seconds. You should hear the liquid squish and bubble inside.
This massaging action breaks up debris and pushes the medication deep where the infection is hiding. If you skip this step, the medication only sits in the vertical canal and fails to work.
4. Allow the Head Shake
After massaging, let your dog shake their head. This action helps expel dissolved debris and excess medication.
- Have a towel ready to catch the expelled gunk.
- Wipe the visible outer ear with a cotton ball, but do not wipe inside the canal.
5. Complete the Full Course
Never stop the medication just because the smell disappears. The odor may vanish within a few days, but the organisms are likely still present.
- Finish the entire prescribed duration, usually 7 to 14 days.
- Stopping early is the number one cause of recurring infections and drug resistance.
Step 5: The Non-Negotiable Follow-Up Recheck
Many owners skip the recheck appointment once the symptoms improve, leading to relapse. Do not skip this step.
1. Schedule the Recheck Immediately
Book the follow-up appointment for the day immediately following the last dose of medication.
2. Why the Recheck Matters
The vet will perform a final cytology, even if the ear looks and smells perfectly normal. This microscopic check confirms that all the yeast or bacteria are gone.
- If even a small number of pathogens remain, they will quickly multiply, and the dog ear infection smell will return within weeks.
- The vet needs proof of cure, not just a lack of symptoms.
If the cytology is clear, you move into prevention mode. If it is not clear, your vet will prescribe a different medication or discuss deeper underlying issues.
Step 6: Long-Term Prevention and Maintenance
Preventing future infections is the only way to stop the odor from coming back.
1. Master Routine Ear Cleaning
Routine cleaning removes debris and maintains a healthy pH balance, making the environment inhospitable to pathogens. This should be done once every 1–4 weeks, depending on your dog’s history.
- Use a Vet-Approved Solution: Use a cleaning solution recommended by your veterinarian. Look for ingredients like salicylic acid or boric acid, which help dry the canal and acidify the environment.
- The Technique: Lift the ear, fill the canal, massage the base (as described in Step 4), and then wipe the excess away. Do this until the cotton ball comes out clean.
Guidelines published by the Cornell University College of Veterinary Medicine emphasize the importance of using appropriate cleaning solutions and techniques to flush debris without causing trauma to the sensitive ear canal [https://www.vet.cornell.edu/departments-centers-and-institutes/riney-canine-health-center/canine-health-topics/how-clean-your-dogs-ears].
2. Post-Water Protocols
Moisture is the biggest trigger for ear infections, especially in floppy-eared dogs.
- The Squeeze Bottle Method: After swimming or bathing, use a dedicated ear-drying solution. These typically contain alcohol to evaporate moisture quickly.
- Cotton Barrier: Before bathing, place large cotton balls just inside the ear opening to act as a temporary water barrier. Remove them immediately after the bath.
3. Address Underlying Allergies
If your dog suffers from recurrent infections (more than two per year), the root cause is likely an allergy.
- Work with your vet to rule out food sensitivities (via elimination diets) or environmental triggers (pollen, dust mites).
- Managing the allergy is the only way to truly stop the cycle of chronic ear infections and the resulting smell.
Common Mistakes to Avoid
These errors are frequently made by well-meaning owners and can sabotage treatment or cause injury.
1. Stopping Medication Too Soon
As mentioned, the smell and visible symptoms disappear long before the infection is fully eradicated. Always complete the entire course of medication.
2. Using Q-Tips or Forceful Tools
Never insert anything smaller than your fingertip into the ear canal. Q-tips push infectious debris deeper, compacting it against the eardrum and making treatment impossible.
3. Relying on Home Remedies
While vinegar solutions might temporarily alter the scent, they do not have the power to penetrate biofilm and kill established bacterial or yeast colonies. They waste time and allow the infection to progress.
4. Cleaning During Active Infection
If the ear is extremely painful, red, and swollen, aggressive cleaning may cause significant pain and lead to further swelling. Consult your vet before cleaning an acutely inflamed ear.
Expert Tips for Success
- Warm the Drops: If possible, warm the ear drops slightly by holding the bottle in your hands for a few minutes before administration. Cold drops can shock the ear and cause discomfort.
- Grooming: For breeds with heavy ear hair (Poodles, Schnauzers), discuss plucking with your groomer or vet. Removing the hair improves airflow and reduces moisture retention.
- Use the “Towel Wrap”: If your dog resists handling, wrap them firmly in a large towel (like a burrito) to stabilize their body while you focus solely on administering the drops.
- Maintain Consistency: Chronic ear issues require vigilance. Make ear checks a daily habit, especially if your dog is prone to the issue. Early detection means faster, cheaper, and less painful treatment.
Frequently Asked Questions
Watch: Dog Steals the Camera
How quickly should the dog ear infection smell disappear after starting treatment?
If the infection is mild to moderate, the strong, foul smell should noticeably decrease within 48 to 72 hours of starting the correct, prescribed medication. The odor may not disappear completely until the full course is finished, but the initial pungency should fade quickly as the primary yeast or bacteria die off.
Can I use rubbing alcohol to dry my dog’s ears after swimming?
No, pure rubbing alcohol is highly irritating and painful, especially if the dog has any existing inflammation or abrasions inside the ear canal. It can also dry out the sensitive skin too much. Always use a veterinary-approved ear drying solution, which is formulated with buffered acids and gentle drying agents.
Why does the yeast smell keep returning even after cleaning?
The recurrent yeasty dog ear infection smell almost always signals an unmanaged underlying issue, typically allergies. Cleaning only manages the symptoms. If the dog is constantly reacting to pollen or a component in their diet, the inflammation in the ear canal will persist, creating the warm, moist environment yeast needs to flourish. You must manage the underlying allergy to achieve long-term relief.
Are ear mites the cause of the bad smell?
Ear mites (Otodectes cynotis) cause intense itching and produce a dark, crusty discharge that often resembles coffee grounds. While the discharge itself can smell slightly, ear mites are a significantly less common cause of the intense, pungent, yeasty dog ear infection smell compared to bacteria or yeast overgrowth. Mite infections are most common in puppies and highly contagious.
Conclusion
Finding the dog ear infection smell is alarming, but it is a clear sign that you need to take action. By following these structured, expert steps—from careful assessment and proper veterinary diagnosis to diligent medication administration and long-term preventive care—you can eliminate the odor and, more importantly, relieve your dog’s pain.
Remember, your role is to be your dog’s advocate. Be vigilant, follow your vet’s instructions precisely, and commit to the non-negotiable recheck. With consistency, you can keep your dog’s ears clean, healthy, and odor-free.