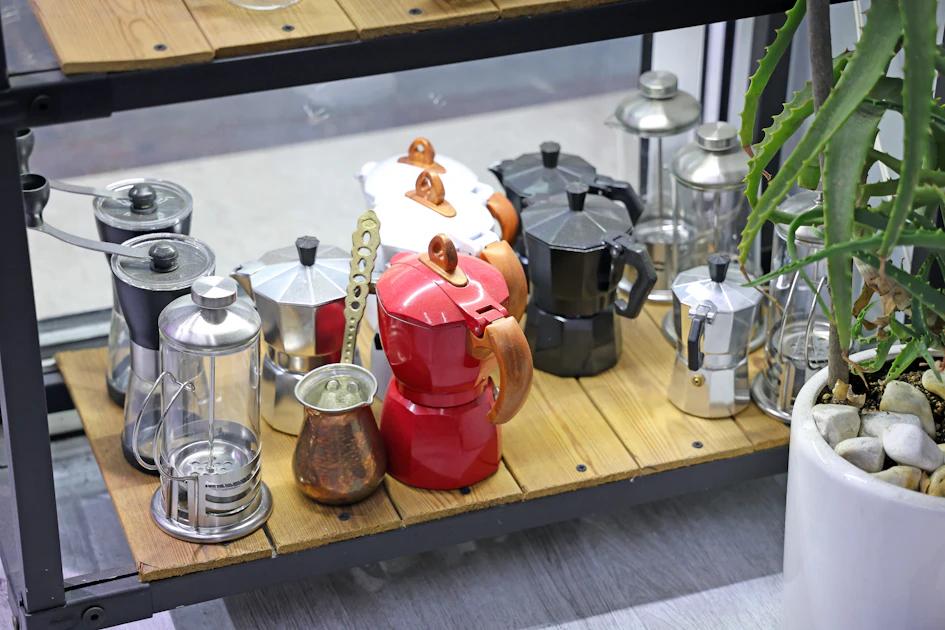

You’ve just enjoyed a fantastic cup of rich, aromatic coffee from your beloved Moka pot. Now comes the cleanup, and a common question pops into your head: can you put a Moka pot in the dishwasher?
It’s a tempting thought, isn’t it? Just load it up with the rest of the dishes and let the machine do the work. But as a seasoned coffee enthusiast and Moka pot user, I’m here to tell you that this seemingly convenient shortcut is a definite no-go.
Dishwashers are the enemy of your Moka pot, and understanding why is key to preserving its unique character and ensuring it continues to brew perfect coffee for years to come. In this guide, we’ll dive deep into the reasons behind this rule, the damage a dishwasher can inflict, and most importantly, the simple, proper ways to clean your Moka pot by hand.
The Absolute Truth: Why Dishwashers and Moka Pots Don’t Mix
Many people wonder why such a common kitchen appliance could be so detrimental to a coffee maker. The reasons are rooted in the Moka pot’s construction and the aggressive nature of dishwasher cycles.
Material Damage: Aluminum’s Arch Nemesis
Most Moka pots are crafted from aluminum, a material that reacts poorly to the harsh detergents and high heat found in dishwashers. These machines use aggressive chemicals designed to strip away tough food residues, but for aluminum, this process is incredibly damaging.
The result is often a dull, discolored, and pitted surface, a far cry from the Moka pot’s original luster. Beyond aesthetics, this corrosion can actually weaken the metal over time.
Research published in the National Institutes of Health’s PubMed Central, specifically a study on the migration of aluminum from drinking bottles and Moka pots, highlights how cooking utensils made of aluminum can release aluminum, and harsh cleaning methods could exacerbate this process. You can review the full findings on the migration of aluminum from drinking bottles and Moka pots.
This scientific insight underscores why protecting the aluminum surface is crucial for both the pot’s integrity and your health. The dishwasher’s environment actively works against this protection.
Flavor Contamination: Stripping Away the Soul of Your Coffee
Beyond physical damage, a dishwasher robs your Moka pot of its soul – the delicate seasoning of coffee oils that builds up over time. This ‘patina’ isn’t grime; it’s a cherished layer that enhances the flavor of every subsequent brew, giving your coffee that signature Moka pot depth.
Think of it like a well-seasoned cast-iron pan; you wouldn’t scrub that with soap and water every time, let alone put it in a dishwasher! The high-pressure jets and strong detergents in a dishwasher mercilessly strip away this beneficial layer.
This leaves your pot sterile and your coffee tasting thin, metallic, or even like residual dish soap. The unique, robust flavor you associate with Moka pot coffee relies heavily on this subtle seasoning.
Seal and Handle Degradation: Compromising Performance and Safety
It’s not just the metal that suffers. Moka pots rely on a rubber or silicone gasket to create a tight seal, crucial for proper pressure brewing. Dishwasher heat and chemicals can degrade these gaskets, making them brittle, cracking them, or causing them to lose their elasticity.
A compromised gasket means steam escapes, pressure drops, and your coffee extraction becomes weak and watery. You’ll notice poor performance and potentially even leaks if your gasket is damaged.
Similarly, many Moka pots feature plastic or wooden handles. These materials are highly susceptible to warping, fading, or cracking under the dishwasher’s intense conditions, making your pot uncomfortable or even unsafe to handle.
The Right Way to Clean Your Moka Pot: A Hand-Washing Masterclass
Cleaning your Moka pot properly is surprisingly simple and takes only a minute or two. The key is consistency and avoiding harsh chemicals.
Daily Cleaning: After Every Use
This routine is quick, preserves your pot, and ensures optimal flavor for your next brew.
Step 1: Disassemble When Cool
After your Moka pot has cooled down completely – never try to open a hot Moka pot – carefully unscrew the top chamber from the base. Remove the filter basket and the rubber gasket.
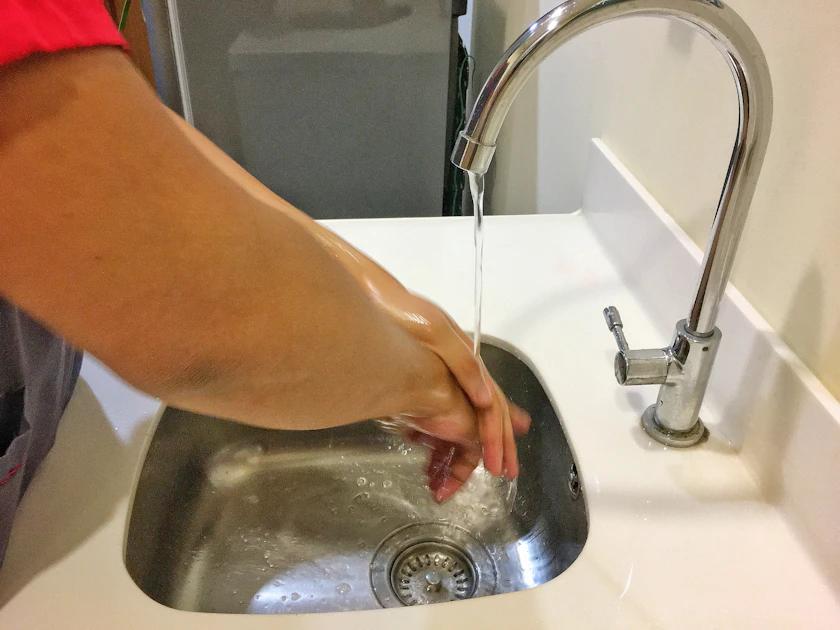
Step 2: Rinse Thoroughly with Warm Water
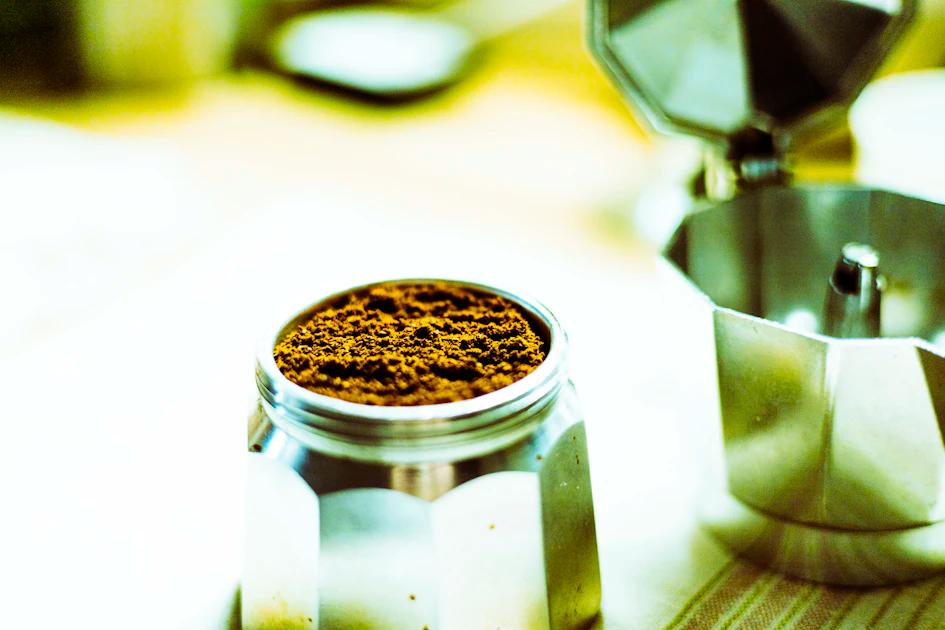
Rinse all three main components (bottom chamber, filter basket, top chamber) under warm running water. The goal here is to remove all spent coffee grounds and any loose oils.
For a deeper dive into the specifics of this process, The Spruce, a reputable source for home care advice, provides excellent guidance on how to clean a Moka pot. They emphasize gentle care to maintain the pot’s integrity.
Step 3: Gentle Scrub (Optional, for stubborn bits)
If you have any stubborn coffee residue, use a soft sponge or a non-abrasive brush. Remember, no soap! We want to preserve that wonderful coffee seasoning, not strip it away.
Many coffee experts, including those consulted by Food Network, emphasize the importance of gentle cleaning for various coffeemakers to maintain their integrity and flavor profiles. You can find more insights on how to clean 7 different kinds of coffeemakers which reinforces the need for specific, material-appropriate care.
Step 4: Dry Immediately and Completely
This step is crucial. Aluminum is prone to oxidation and water spots. Use a clean, dry cloth to thoroughly wipe down every part of your Moka pot, inside and out. Don’t leave it to air dry, as this can lead to mineral deposits and dullness.
Step 5: Reassemble (Loosely) or Store Separately
Once all parts are completely dry, you can loosely reassemble the pot or store the parts separately. Storing it loosely helps prevent any trapped moisture and allows air circulation, which is especially important for the gasket.
Deep Cleaning: Monthly or As Needed
Even with daily rinsing, mineral deposits can build up, especially if you have hard water. About once a month, or if you notice your coffee flow slowing down or a change in taste, it’s time for a deeper clean.
Step 1: Vinegar or Citric Acid Soak
Fill the bottom chamber with a 1:1 mixture of white vinegar and water, or dissolve a teaspoon of citric acid powder in water. Screw the top chamber on without any coffee in the filter basket.
Step 2: Brew a ‘Cleaning’ Cycle
Place the Moka pot on your stovetop and let it brew as usual. The acidic solution will run through the internal components, dissolving mineral buildup. Discard this solution immediately after it cools.
For more detailed advice on using natural descalers like vinegar and citric acid for stovetop coffee makers, House Digest offers excellent practical tips in their guide on the right way to clean stovetop coffee makers. They provide valuable insights into safe and effective descaling.
Step 3: Rinse Thoroughly
Run 2-3 cycles with plain water to ensure all traces of vinegar or citric acid are removed. You don’t want your next coffee tasting like salad dressing!
Step 4: Inspect and Scrub (if needed)
After the cleaning cycles, disassemble the pot and inspect the filter plate and the funnel. Use a small brush (like an old toothbrush) to gently scrub any remaining stubborn bits or scale from the mesh filter and the inside of the funnel. Ensure the small hole in the top chamber’s spout is clear.
Step 5: Replace Gasket (if necessary)
If your gasket is looking worn, cracked, or hardened, now is a good time to replace it. They’re inexpensive and vital for optimal brewing pressure and preventing leaks.
Common Moka Pot Cleaning Mistakes to Avoid
Even with good intentions, some common missteps can still harm your Moka pot or compromise your coffee’s flavor.
- Using Dish Soap Daily: This strips away the beneficial coffee seasoning and can leave behind soap residue, imparting an unpleasant taste to your next brew. Save soap for emergencies, if at all.
- Leaving Wet Parts to Air Dry: As mentioned, aluminum is susceptible to oxidation and water spots. Air drying encourages dullness, mineral buildup, and potential corrosion over time.
- Abrasive Scrubbers: Steel wool, harsh scouring pads, or abrasive cleansers will scratch the aluminum surface. These scratches create more nooks and crannies for coffee oils and mineral deposits to cling to, making future cleaning harder and potentially affecting flavor.
- Forgetting to Clean the Safety Valve: The small safety valve on the side of the bottom chamber is crucial. If it gets clogged with coffee grounds or mineral scale, pressure can build dangerously high. Always ensure it’s clear during your cleaning routine.
- Not Replacing Gaskets: A worn-out gasket is a silent killer of good Moka pot coffee. It leads to poor seals, steam leaks, reduced pressure, and ultimately, weak extraction. Replace it regularly, typically once a year, or if you notice any signs of wear.
The Myth of the “Seasoned” Moka Pot (and why it’s not grime)
There’s a common misconception that Moka pots should never be cleaned at all, allowing a thick layer of ‘seasoning’ to build up. While a light patina of coffee oils is desirable for flavor, actual grime, old grounds, and scale are not. These will impart bitter, stale flavors to your coffee.
The goal is to remove spent grounds and rinse away loose oils, leaving behind a subtle, clean coffee essence. If your Moka pot smells stale or your coffee tastes off, it’s time for a good rinse, and perhaps a gentle deep clean, not a neglectful ‘seasoning’.
This distinction is vital for truly great-tasting Moka pot coffee. A truly seasoned pot is clean, with a rich, dark interior that reflects years of brewing, not neglect.
Practical Tips for Moka Pot Longevity
To ensure your Moka pot remains a faithful companion for years, remember these key takeaways:
- Hand wash only, always. Never put your Moka pot in the dishwasher, regardless of material.
- Rinse with warm water, no soap, after every use. This is your daily ritual.
- Dry immediately and thoroughly. Prevent oxidation and water spots with a clean cloth.
- Deep clean monthly with vinegar/citric acid. Tackle mineral buildup and keep pathways clear.
- Replace gaskets annually or when worn. A fresh gasket is key to pressure and good coffee.
- Never scrub with abrasive materials. Protect the surface from scratches and damage.
- Store disassembled or loosely to prevent trapped moisture and allow air circulation.
Frequently Asked Questions About Moka Pot Cleaning
How often should I deep clean my Moka pot?
You should aim for a deep clean with vinegar or citric acid about once a month, especially if you use your Moka pot frequently or live in an area with hard water. If you notice a slowdown in brewing time or a change in coffee taste, it might be time for an earlier deep clean to remove mineral buildup and ensure optimal performance.
Can I use soap on my Moka pot if it’s really dirty?
While it’s generally advised to avoid soap to preserve the coffee patina, if your Moka pot has truly stubborn, rancid residue or has been neglected, a very mild, unscented dish soap can be used sparingly. However, follow up with multiple thorough rinses with plain water to ensure no soap residue remains, and then brew a sacrificial batch of coffee (which you’ll discard) to re-season it. This should be a rare exception, not a routine cleaning method.
What causes my Moka pot coffee to taste metallic?
A metallic taste in your Moka pot coffee is often a sign of either a brand-new pot that hasn’t been properly seasoned (brew a few sacrificial batches of cheap coffee first) or, more commonly, damage from harsh cleaning. If you’ve put your aluminum Moka pot in the dishwasher, the detergents will have stripped the protective oxide layer and caused corrosion, leading to that unpleasant metallic flavor. It can also indicate significant mineral buildup that needs a thorough deep clean.
Is it okay to leave coffee in my Moka pot overnight?
No, it’s definitely not recommended to leave brewed coffee or spent grounds in your Moka pot overnight. Coffee oils can quickly turn rancid, leading to off-flavors and odors that will permeate the pot. Additionally, leaving wet grounds in the filter basket can encourage mold growth and corrosion, especially in aluminum pots. Always empty and rinse your Moka pot immediately after it cools down to maintain hygiene and flavor.
Conclusion
So, the answer to ‘can you put a Moka pot in the dishwasher?’ is a resounding no. It’s a tempting shortcut, but one that comes at the cost of your pot’s longevity, its performance, and most importantly, the delicious flavor of your coffee.
Your Moka pot isn’t just a coffee maker; it’s a classic piece of kitchen equipment that, with a little tender loving care, will reward you with countless perfect brews. Embrace the simple ritual of hand-washing with warm water, drying thoroughly, and occasional deep cleaning.
This small effort ensures your Moka pot remains a cherished tool, brewing rich, authentic Italian-style coffee for many years to come. Treat it well, and it will treat your taste buds even better.